
The Rise in Homemade Loaves

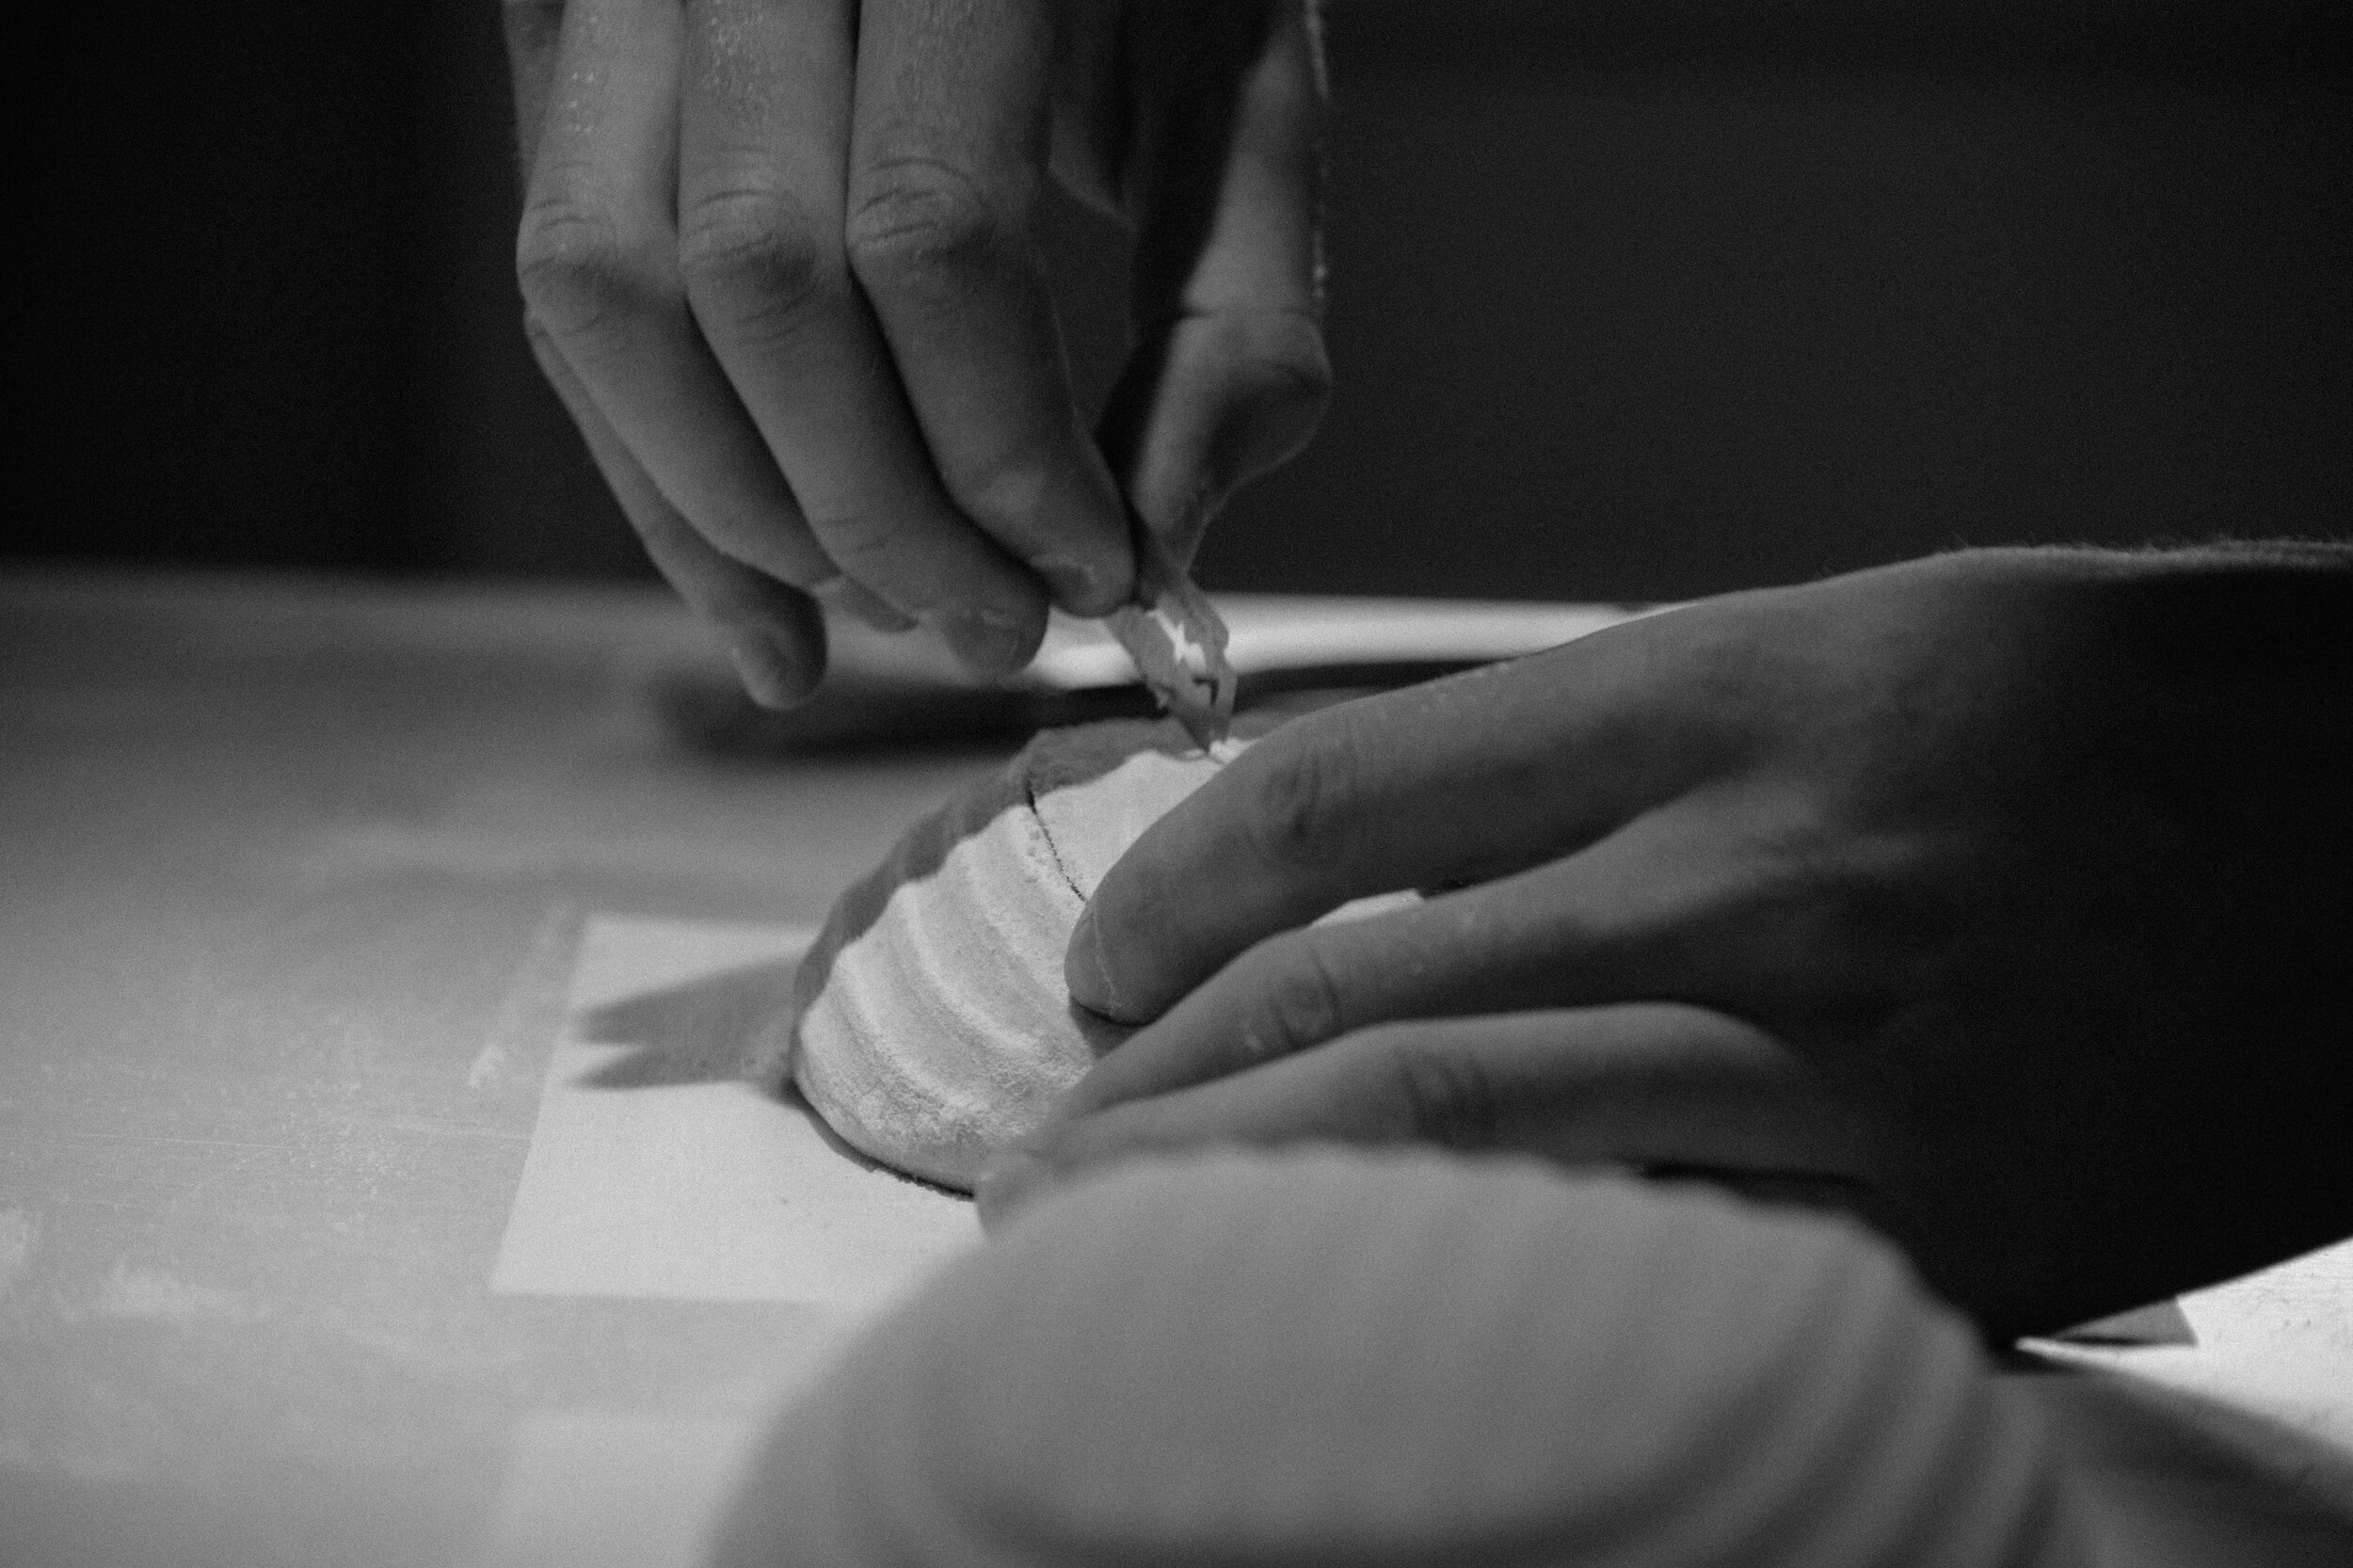
Photos courtesy of Andre Gruber
The best bread is simply flour, water and salt, yet most of us repeatedly buy this staple from grocery stores because baking it from scratch is such a long and laborious process. The average person did not spend enough time at home to babysit their dough all day, that is, until COVID-19 quarantines. While investigating the rise in homemade loaves due to the pandemic, I asked one pre-COVID and one COVID-provoked at-home bakery for their stories, how their businesses responded to the global crisis and any tips for the rest of us wanting to bake bread at home. Spoiler alert: a recipe is included at the end.
Jax Marshall, the founder of Evergreen’s micro-bakery Mama and the Fig, once hated baking. She dreaded the pastry training in culinary school. It wasn’t until inheriting the bread program at one of her kitchen jobs that she realized “there was as much room for creativity as there was for science and precision.” She now operates from her home kitchen in what she calls a “cottage bakery,” feeling free to create exactly what she wants.
“That is what motivates me: a process of making bread that leans on the thousands of years of knowledge, infused with my own desire to experiment and break from tradition. I feel honored that people allow me into their homes by way of bread,” Marshall shares.
Coronavirus thankfully has not strained Marshall’s quarantine-friendly business model. In fact, more people seem to be relying on and wanting to support local products and businesses during the pandemic, and some even want to start baking from home themselves.
“I think the bread-baking trend is great,” she says. “The more people find themselves in the kitchen getting back to the basics, the greater the appreciation for the end product, and the less scary carbs become!”
Andre Gruber, a senior at the University of Colorado at Boulder, fell into that bandwagon of quarantine-domestics, but took it one step further. He not only began making sourdough from scratch in the spring of 2020, but he grew the hobby into another “cottage bakery” called Ferment Boulder. Gruber admired quality bread since his semester in Copenhagen, but the virus-induced lockdown imposed the time needed at home to produce it himself.
Gruber, convivial and hard-working, had no problem expanding his business quickly and bringing on a partner, Rafa Infante. The two were kind enough to share their original recipe below. Gruber notes to any aspiring bakers not to be intimidated; bread is more forgiving (and fun) than many think. He says, “the first loaf will not be perfect, but you’ll learn every time, and it will still be enjoyable and delicious.”

HOW TO MAKE A
SOURDOUGH LOAF AT HOME
RECIPE BY ANDRE GRUBER OF FERMENT BOULDER
Let’s start with a couple different ingredients and tools you will need to get started to make one sourdough loaf:
Total Flour: 450 grams
Bread Flour: 360 grams
Whole Wheat flour: 90 grams
Water: 324 grams
Starter: 67.5 grams
Salt: 9 grams
Mixing bowl
Kitchen towel
Pan or Dutch oven
Parchment paper
Razor blade
In order to bake a sourdough bread, you’ll need to have a mature sourdough starter. If you don’t have one already, you can check out our blog post on fermentboulder.com.
STEP 1 (IN THE MORNING)
We will first need to feed our starter and get it ready to be later incorporated into our dough. It’s important that we only add our starter to the other ingredients once it has reached its peak growth after feeding. Therefore, we will be feeding the starter approximately four hours before we do anything else.
1. Feed your starter at 1:1:1 ratio (one part water, one part flour, one part starter) and don’t forget to leave a little extra for the next day. For this recipe, leave 30 grams of starter in your jar, and add 30 grams of water and 30 grams of flour for a total of 90 grams of starter.
2. Mix well and set in a warm corner of your kitchen for four to five hours or until it has doubled in size.
STEP 3
Now it’s time to mix your starter into the dough and begin bulk fermentation.
7. Add 67.5 grams of starter to your dough with a wet hand. Begin by dimpling the starter into the dough.
8. Continue to incorporate the starter by folding the dough onto itself and mix for four to five minutes.
9. Let rest for 30 minutes.
STEP 5
This next step is where you will develop most of the strength in your dough. You will repeat this step three to four times with 30 minutes in between.
13. Perform one set of coil folds on your dough as illustrated in the video on our blog.
14. Rest 30 minutes and repeat three to four times.
15. Once you finish the sets, let the dough rest for another two to two-and-a-half hours, until the dough has grown about 30-40%.
STEP 7
This is the last step before placing your dough to proof overnight in the fridge.
19. Perform the final shaping as shown in the video online.
20. Place dough seam side up inside your floured bowl.
21. Then, cover the bowl and place in the fridge for 14-18 hours at 39 degrees Fahrenheit.
Congratulations, you’re all done for today. You’re two-thirds of the way there. Relax and wait until the morning for the next couple of steps before you can enjoy your beautiful loaf.

STEP 2
Approximately three hours after feeding your starter you will want to begin the autolyse phase.
3. Weigh out 360 grams of bread flour and 90 grams of whole wheat flour and mix in a bowl until combined.
4. Weigh out 324 grams of filtered water that is around 85-90 degrees Fahrenheit (warm to the touch).
5. Combine the water and flour in a bowl. You want to mix it by hand and do so until there are no more dry spots of flour left.
6. Leave the mixture to austolyse for one to two hours until the starter has grown at least double its size.
STEP 4
Now it’s time for the last ingredient to be mixed and begin strengthening the gluten.
10. Add salt (nine grams), dimple the dough again and mix in the salt evenly.
11. Dump the dough onto the counter and begin the slap and fold process for five to six minutes. The dough should be begin to look really smooth. (reference the video on our blog to learn the slap and fold method).
12. Let rest for 30 minutes.
STEP 6
It’s now time to pre-shape your loaf.
16. Pre-shape your loaf as shown in the video on our blog.
17. Let it rest for 30 minutes.
18. Cover a bowl with a kitchen towel and dust with flour.
STEP 8 (THE NEXT MORNING)
22. Preheat your oven to 515 degrees for one and a half hours with your Dutch oven or pan inside.
23. Take your dough out of the fridge, flip it onto a piece of parchment paper and brush off the excess flour.
24. If you want to add your own designs to the loaf, score (cut) with a sharp knife or razor blade. You can check out some designs on our blog for inspiration.
Once you have scored your loaves it’s time to bake:
25. Take the Dutch oven out of the oven and place your loaf inside.
26. Bake at 500 degrees for 20 minutes with the lid on.
27. Remove the lid and reduce the oven temperature to 450 degrees for another 20 minutes without the lid.
28. In order to know if your loaves are done, tap the bottom and you should hear a hollow interior.
Let the loaf cool for around an hour, and you are ready to enjoy your first homemade sourdough loaf.
Originally published in the Spring 2021 issue